The basic editing and formatting tasks using PicMonkey are shown below. If you do them in this order, it becomes an easy to remember, logical sequence that goes quickly.
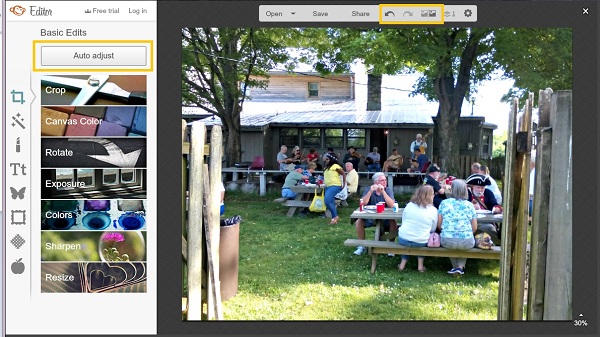
Auto Adjust
For the average picture that does not need a lot of touch up work, such as removing red eye or blurring background distractions, the PicMonkey “Auto Adjust” button does a good job of brightening and balancing the contrast and exposure levels. After cicking on the Auto Adjust button at the top of the left sidebar, the suggested changes are applied to the photo on the work area on the right.
You can toggle back and forth between seeing the “before” and “after” photos using the icon in the gray menu bar at the top of the photo. If you don’t want the suggested changes, just click the “undo” arrow in the gray menu bar. Either undo or apply the adjustments and move onto the next step, Cropping.
 Cropping
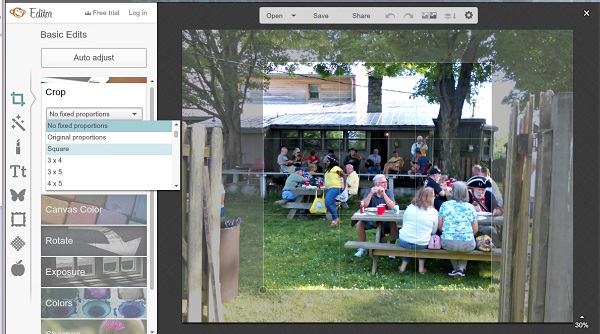
This step relies on a little artistic sensibility of the person working with the photo. You want to select the best part of the photo and minimize items in the background that might be distracting or unwanted.
The original photo has a shape and dimensions that need to be changed. Using the drop down menu of the Crop tab that by default says “No set proportions,” select the “Square” option and then check the box to “Scale Photo.” Do not change the numbers in the “Actual Size” fields.
A large square filter should appear on the work space photo. You can grab the square and move it around the photo until you have the subjects centered and the background balanced. You can also grab a corner with your mouse and enlarge the square or make it smaller, depending on the subject(s) and composition of your photo.
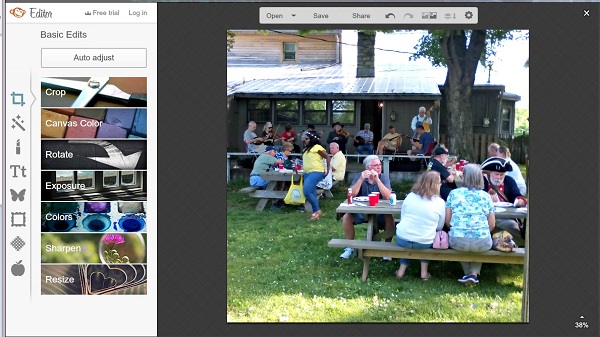
When the content within the square appears to be what you want, click on the button, “Apply,” and move on to the next step, “Resize.”
Example of photo before cropping
Example of photo after cropping
Resizing
The original size of the photo is too large, which means it will not fit neatly onto the the web site and it will slow down the page loading time for your web site visitors. We want to reduce the photo to a width of 600 pixels. In some cases, the size should be even smaller than 600. The large sizes are more appropriate for web site backgrounds and header graphics. The smaller sizes are good for galleries and featured images within blog posts. Remember, you can always make a file smaller but you cannot make it larger. So we’ll go with 600 for now.
With the “Keep proportions” box checked, just place the cursor into the first field below “Change size to:” and replace those numbers with 600. The numbers within the field on the right should reduce automatically as you type. Then click the button “Apply” to keep the changes made.
Next, we will add text to the bottom of the photo declaring it protected by copyright.

Add Text
Although any artistic work is automatically protected by copyright law, you should protect your photos by adding a copyright notice, as many people are unfamiliar with copyright law and this statement clarifies that you are reserving all rights to your photos.
If someone wants to use your photo for their own purposes, they need to contact you and ask for permission prior to use. You have the right to grant permission, limit it’s use, charge a fee and/or decline. It would be prudent to decline if the photo shows the faces of children, and technically, you as well as the person wanting to use your photo should get permission of every recognizable person – or their parents – before using the photo, especially if on the internet or for any commercial purposes.
A copyright notice consists of the following three elements:
(1) the symbol © (the letter C in a circle), or the word “Copyright”, or the abbreviation “Copr.”; and
(2) the year of first publication of the work; and
(3) the name of the owner of copyright in the work, or an abbreviation by which the name can be recognized, or a generally known alternative designation of the owner.
For more information on copyright law, go to the Government’s official web site: www.copyright.gov
To add the copyright notice on your photo, click on the “Tt” icon in the left sidebar, and then click on the top button, “Add text.”

You can either type the desired words directly into the rectangular text box that appears on the work space photo, or copy and paste the text into that field.
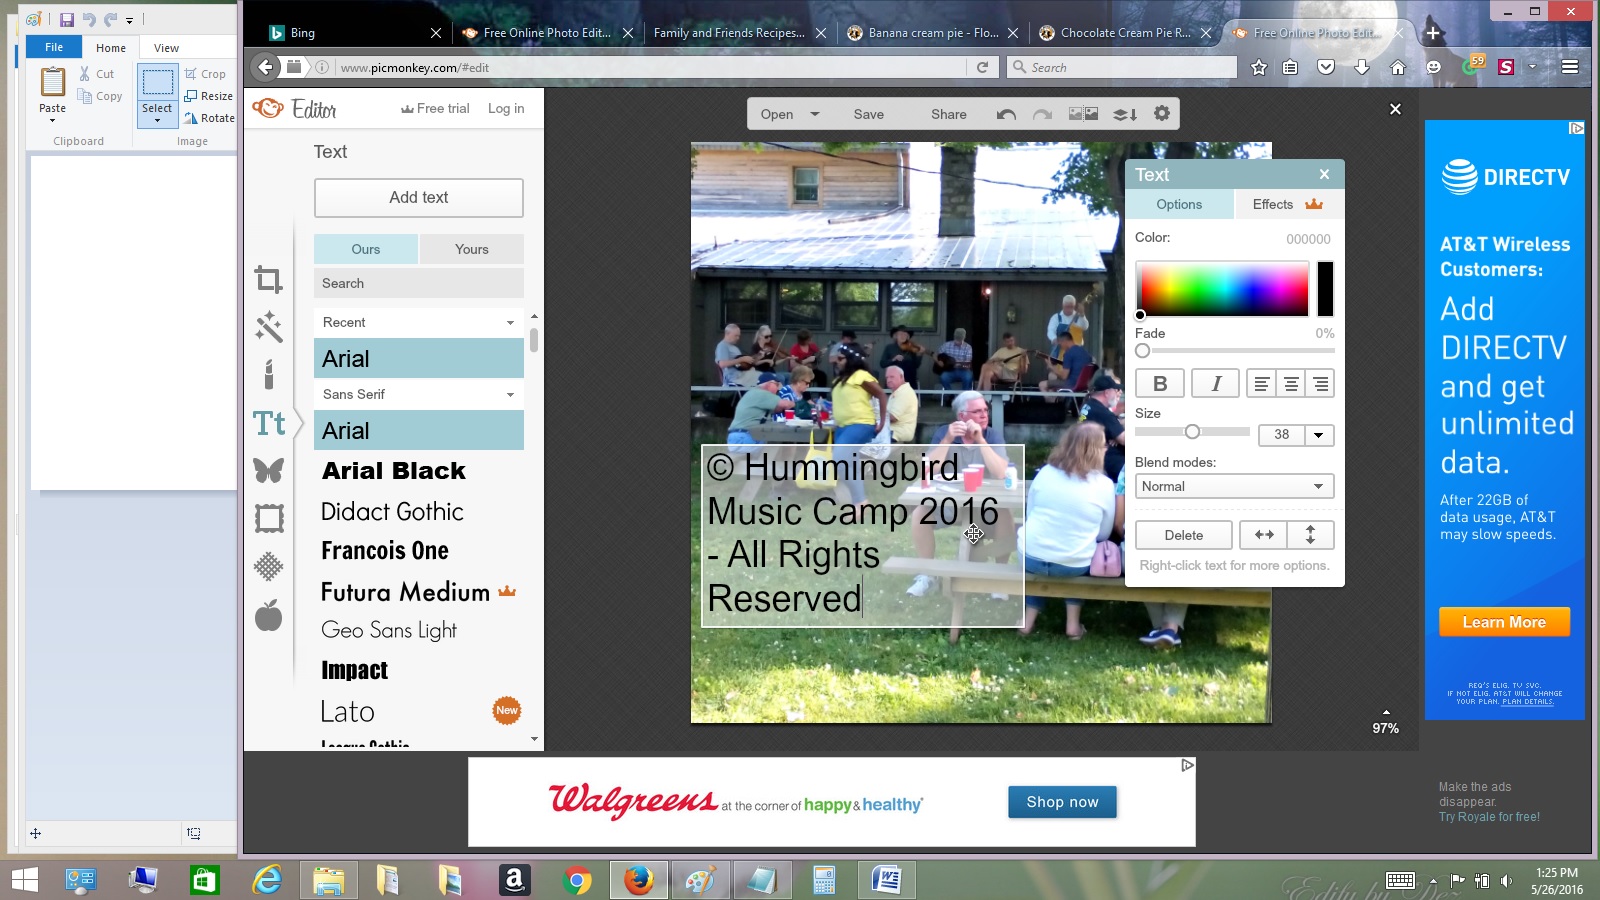
After the text is entered into the field, you can change the font style, the size and the color. I normally leaving the font Arial because it is easy to read in smaller sizes.If you want to change the font to something else, select the text and then scroll down the list of font styles in the left sidebar to find one you like.
The font size adjusts according to the size of the rectangle field or as set in the options of the text dialogue box that appears over the work area. I normally select either 12 pt or maybe 14 pt. Larger sizes are more appropriate for headlines.
The default text color is black, but sometimes black is difficult to see on a photo with a lot of dark colors. You want something that contrasts with the background, but doesn’t overwhelm and distract the eye. You can select the text and then change it using the color picker in the text dialogue box options.
The text options also allow fade, bold, italics, alignment, blend and orientation on the entire text or individual words or letters that you select with the mouse. However, for our purposes, adjusting those additional options is not needed.
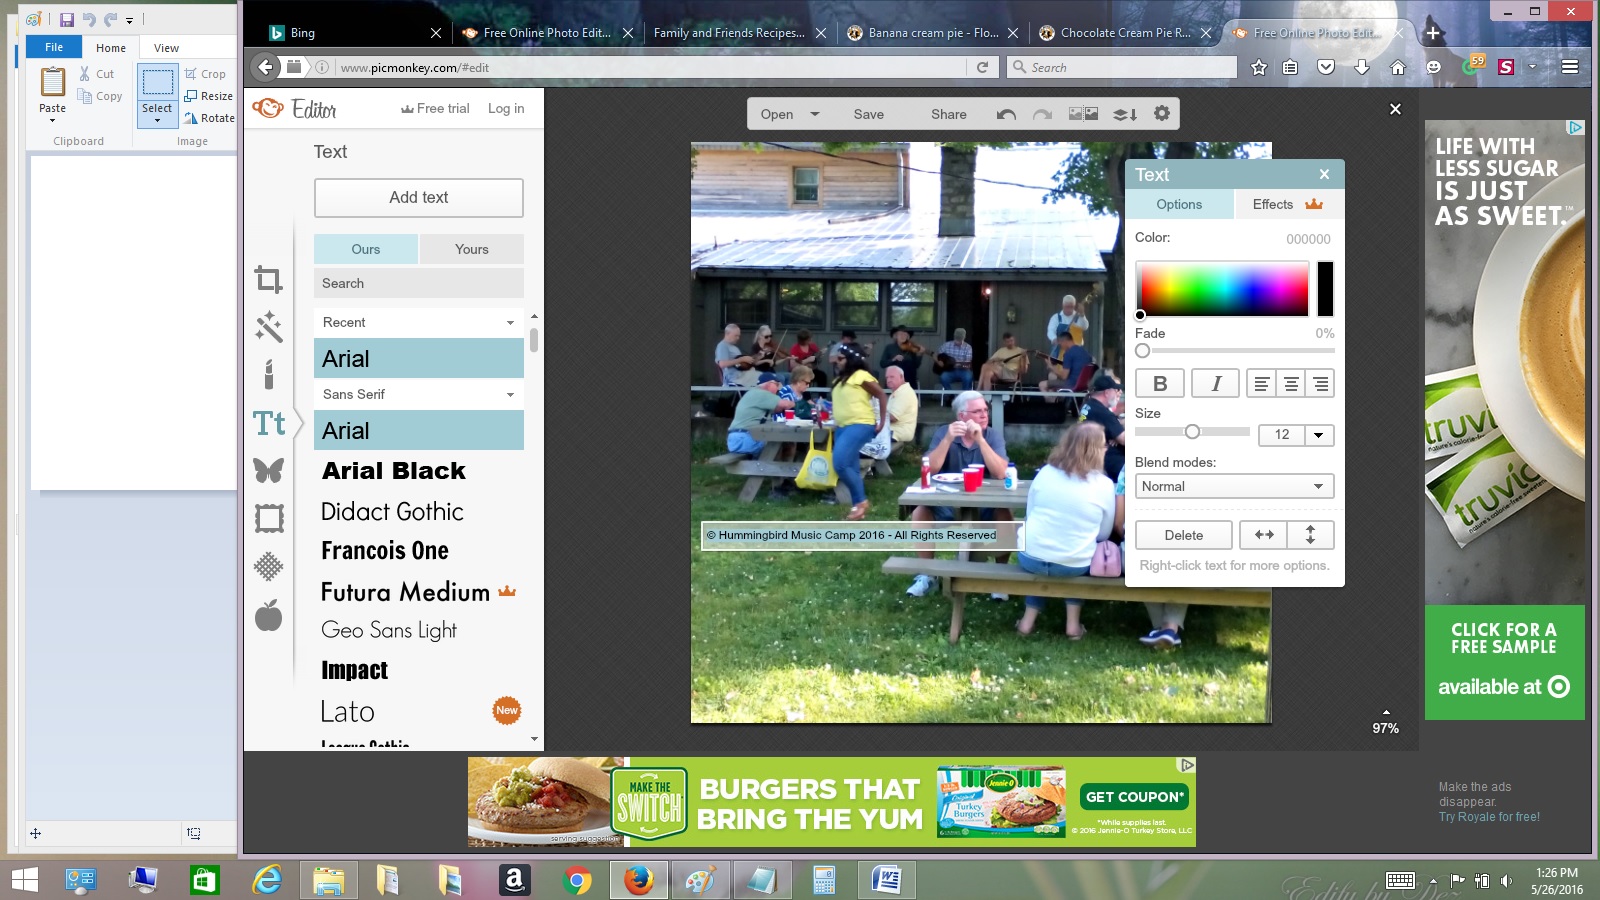
Once the text is sized and colored, grab the outer edge of the text field box and drag it to the bottom left corner of the photo. You can also use the keyboard arrows to move the box in small increments until it is located where you want it.
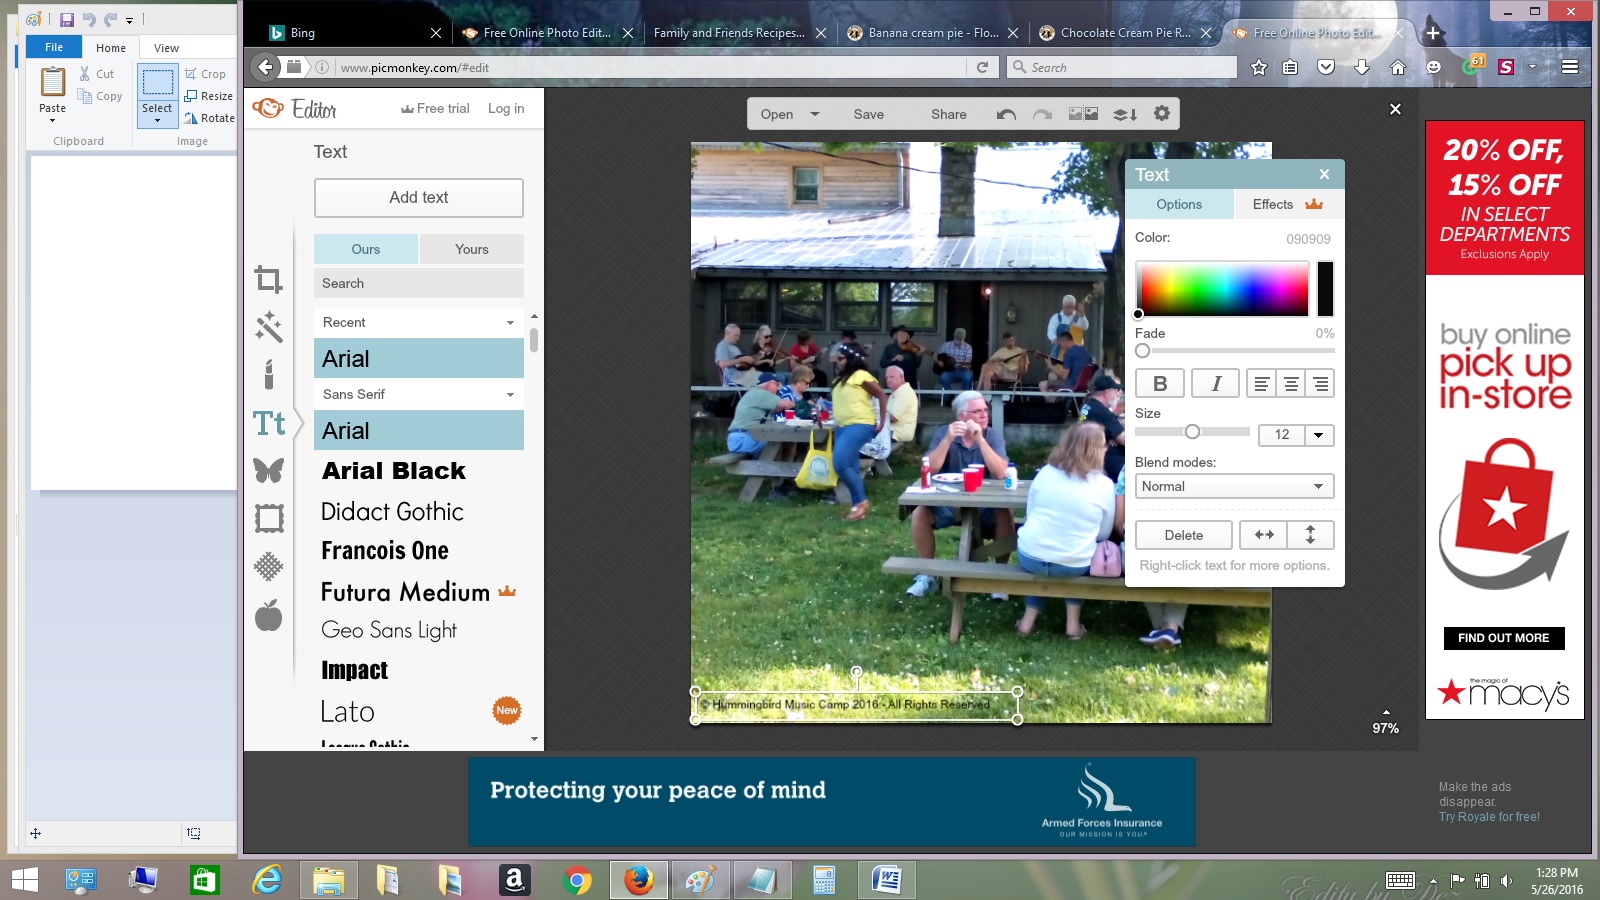
Click anywhere outside of the text field for the changes to be incorporated with the photo.
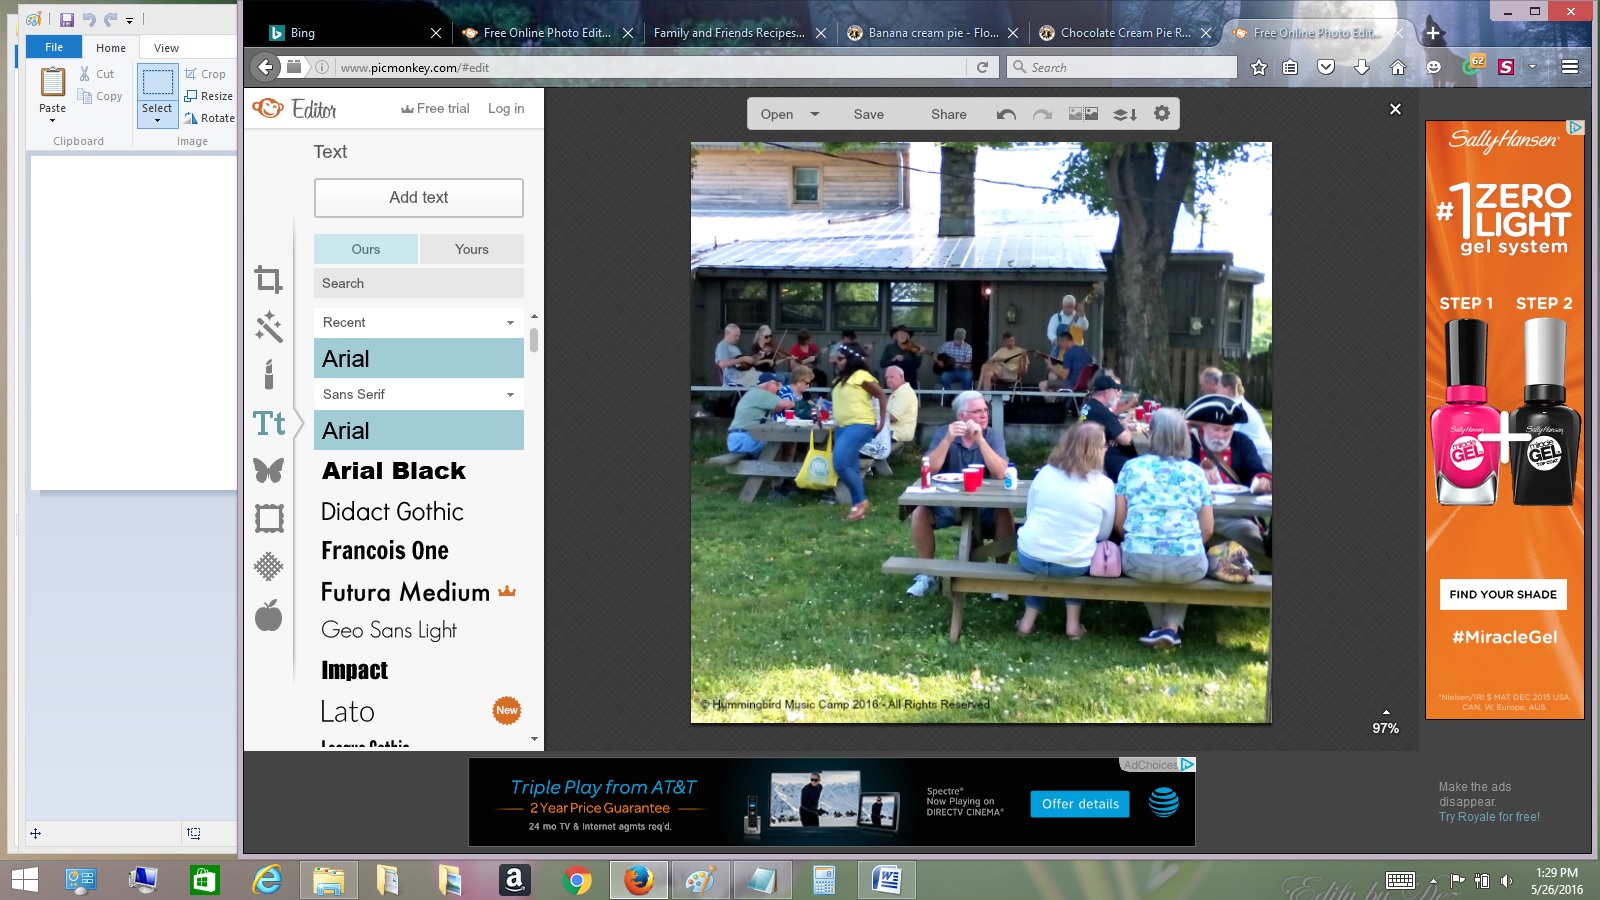
Almost done! These have been the basics to prepare the photo. If you want to do additional edits, such as remove red eye, do that now. (Remove red eye using the PicMonkey “Touch Up” options, click on the icon in the left sidebar that looks like a tube of lipstick, just above the Tt icon.)
Save the changes and download the finished photo.
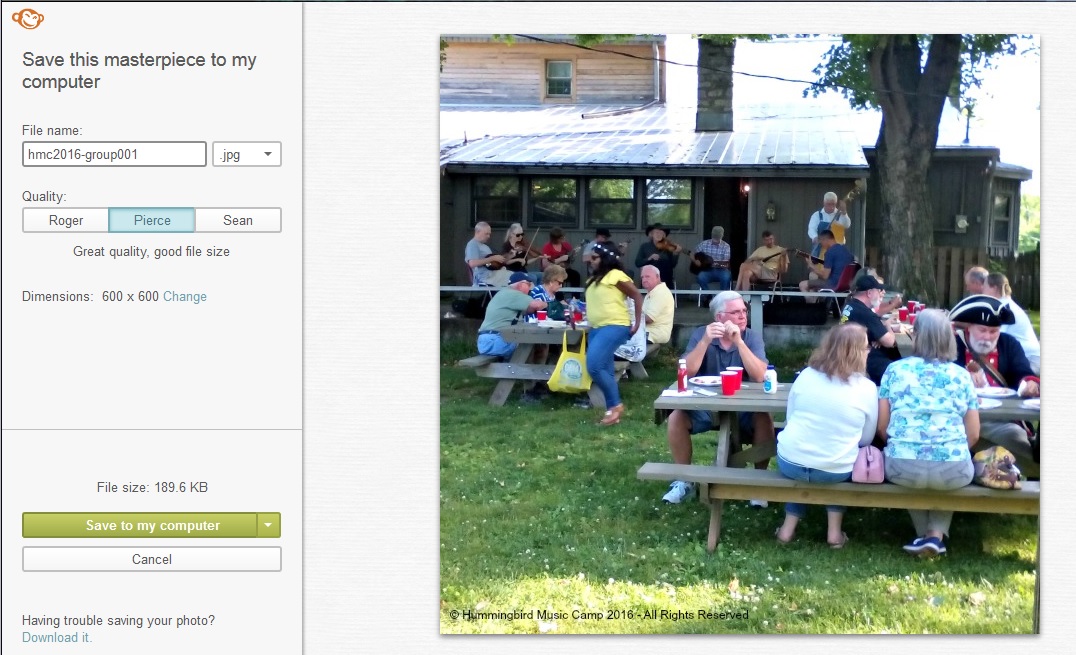
The photo in the work area shows all the changes we’ve made so far. Looking good!
In the menu bar over the photo in the work area, click on the “Save” button. But hold on, it is not actually saved yet!
In the download window, you need to rename the photo using the naming conventions we chose at the start of this process. In the “Filename” field, type the new photo name directly into the field. Leave the .jpg file extension in the next field.
Next, you have the chance to choose the quality level. Since we are not printing this photo for an album or frame, the “Pierce” quality is good enough for our purposes.
You also have one last chance to change the photo dimensions, but we are good with the 600 pixels that were already set.
Finally (!) click the “Save to my computer” button.
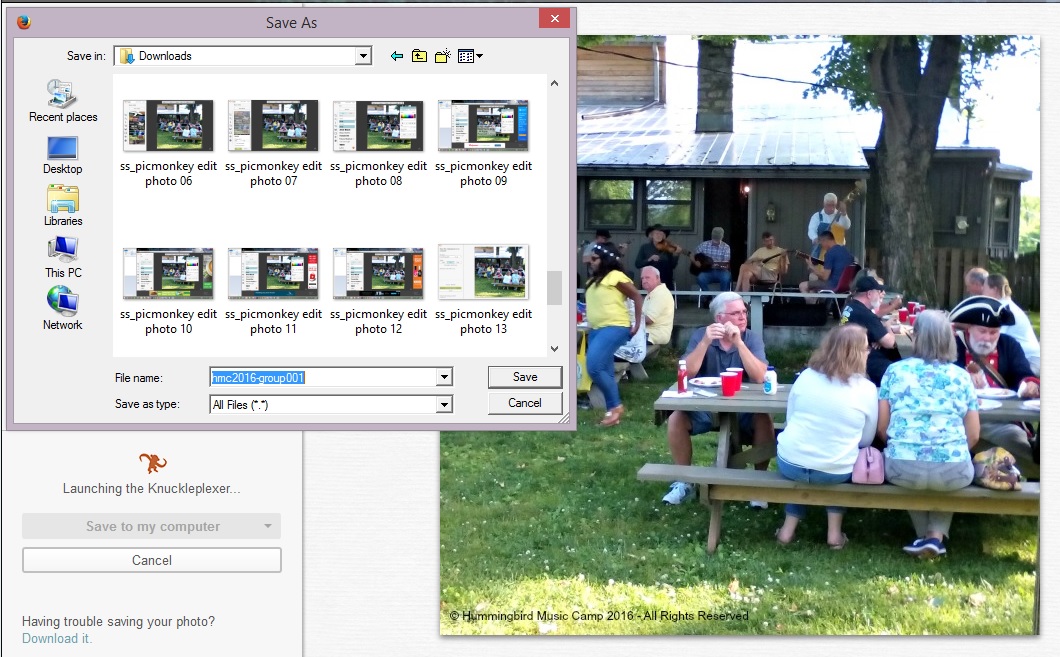
A new “Save As” dialogue box opens for selecting the destination folder. The new filename appears automatically in the filename field, but you can change it here if you need to. Once you click the “Save” button, the actual saving and downloading process begins.
Ta Dah!
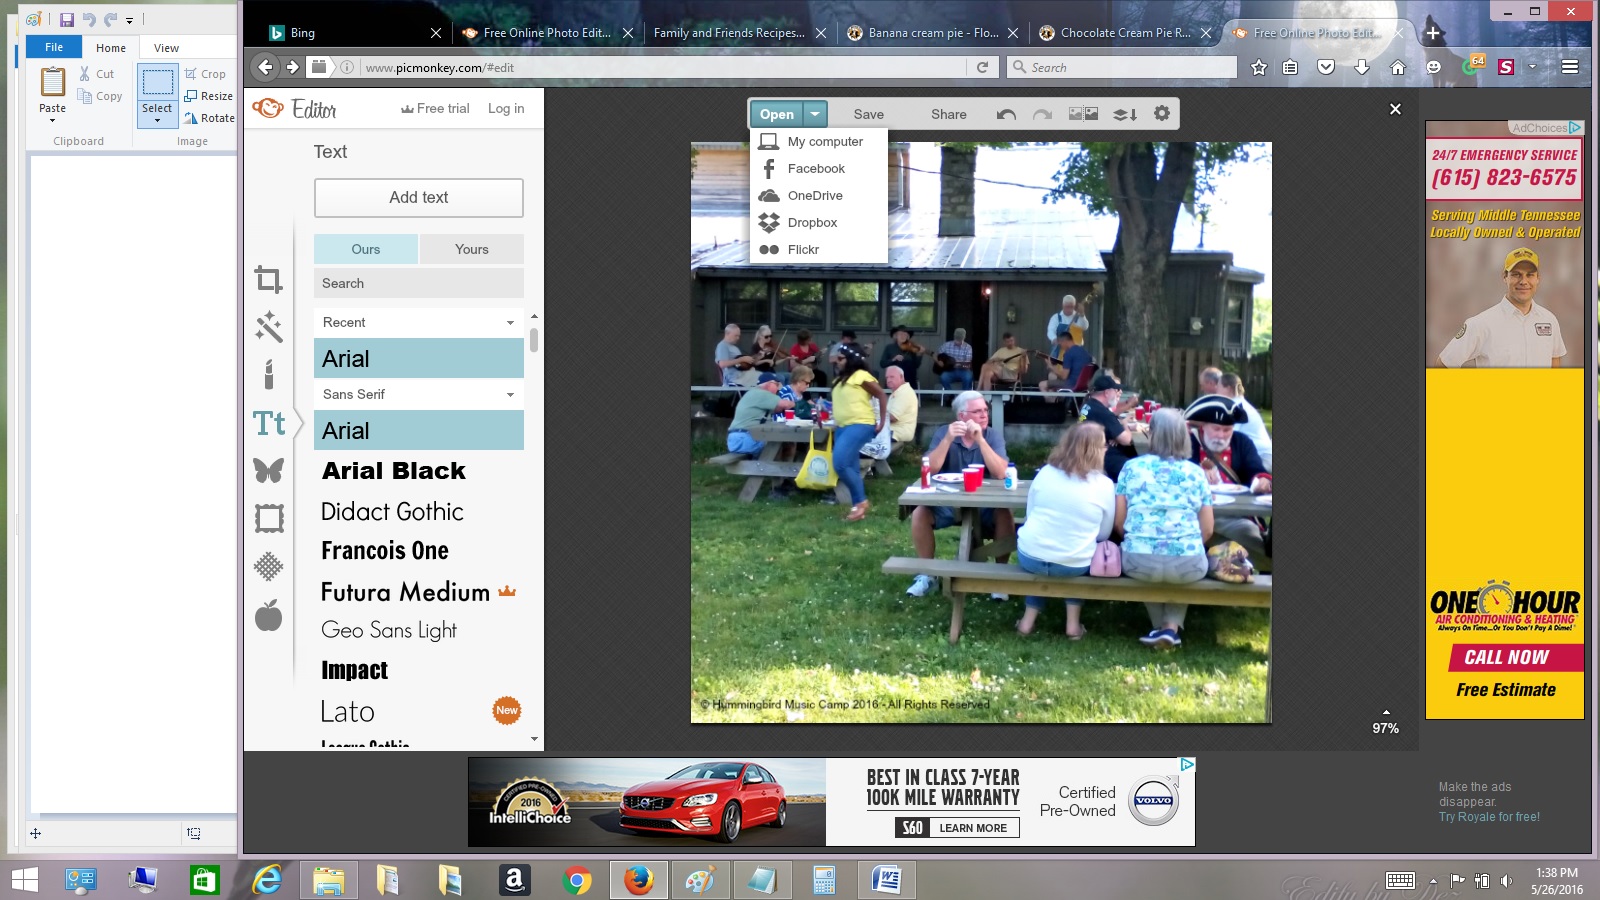
The finished photo remains open in the PicMonkey work area. If you are done, you can close this window and quit PicMonkey. However, if you want to edit and format another picture, just click in the top menu bar to “Open” the next photo.
Repeat this process for any photo you intend to add to your web site.
For instructions on how to add them to your site, Go to the next page, Adding Photos to WordPress.