
This series of pages is basically a tutorial on how to offload photos from an Android cell phone and perform simple, basic formatting to each photo for the purpose of including them on a web site. There are many ways to accomplish this, depending upon
- the brand of cell phone,
- where you intend to store the raw photos and the formatted photos,
- what operating system and internet browser you use, and
- your skill level in using photo editing software.
This tutorial assumes you have some basic knowledge of
- photography,
- the functions on your cell phone,
- navigating a desktop of laptop hard drive and
- uploading files to the internet.
The computer used to compose this tutorial and take screen shots for illustration purposes is an HP Laptop with Windows 8.1. I use all the popular browsers but prefer Firefox. Other browsers may appear or perform slightly different. My cell phone is a Alcatel Android served by T-Mobile, but I have used the Samsung Galaxy and others. The photo editing program used here will be on the free online web site, www.picmonkey.com.
If any of your equipment is different, there may be slight variations in what your screen displays or the words used to initiate the required actions, but you should be able to easily accommodate this. If not, you are welcome to get in touch with me for help using the contact form on this web sites’ “About Me” page. If you prefer to use a different photo editing program, such as Photoshop, that’s fine. Just make sure you cover all the processing steps laid out here. I like PicMonkey because:
- it is free,
- easy to use,
- quick to learn the basics,
- performs all the steps required for our purposes,
- is online so none of their processes take up any memory on your computer, and
- you can access PicMonkey anywhere from any device with WiFi.
Each step in this tutorial will be on it’s own page with instructions in plain English and at least one screenshot that illustrates what you should see on your own monitor as you work along with the guide.
Start by selecting a picture that is on your cell phone to use as you follow along this tutorial, or take a picture now to use for this exercise. Any subject, any settings.
Decide on your organization method and file naming conventions, then set up folders accordingly.
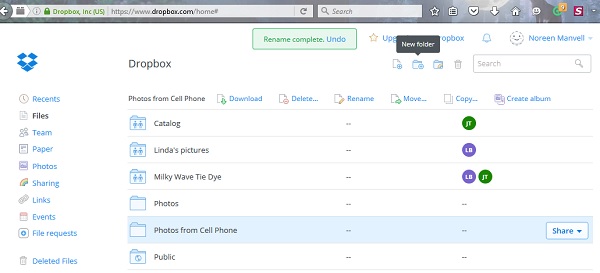
I recommend you create 4 empty folders as destinations during the process. Place them in either your Downloads folder or you Pictures folder on your hard drive, or create them in Dropbox. My folders are named:
- “Photos From Cell Phone” – Destination folder for each offload session from the cell phone(s).
- “Ready for Upload” – Temporary destination folder from the editing and formatting program or app
- “Formatted Photos” – An archive for photos that have been edited and named, and then uploaded to the web site.
- “Slough Photos” – An archive for photos that are not going to be uploaded to the media library of the final web site, but might be needed later.
Each downloaded photo has a file name assigned by the camera’s software. These file names are usually sequential and start with either img or dsc. During editing, you will have the opportunity to give the photo a new name, according to the naming or numbering method you decide to use. I often start the file names with the year and only use the month and day if that is relevant. Then I use a few letters that are used to group the photos, a few letters that describe the subject or activity, and then a numbering scheme the is either 2 or 3 sequential digits.
For example: 2016-HMC-first day-001.jpg would be the name of the group of photos taken during the camp session in 2016, for Hummingbird Music Camp’s first day for the campers and the first photo in the series. The numbering allows for up to 999 photos in this group, and putting zeroes in front of the single digits allows the computer to properly sort the files later. The .jpg is assigned by the computer software, based on the file format when you save the photo after editing or formatting.
The process begins with transferring the desired photo(s) from the cell phone to either your hard drive or your Dropbox account.
Go to the next page Transfer Photo(s) From Cell Phone.