OK. You have a photo that was taken with your cell phone and you want to spiff it up a little, then add it to your web site. Easy peasy! Here are the step by step instructions to edit and format that photo properly using the PicMonkey.com free photo editing program. The best way to learn this process is to read through/skim all of the pages in this series, then come back here and try to follow each step using a real photo from your own cell phone.
Transfer the photo(s) from the cell phone to a predetermined folder on your hard drive or online storage account, such as Dropbox. If you are using a different naming convention than mine, make note of the download destination folder name so you can find them again.
There are several easy ways to get photos off of your cell phone. If you need help with this beyond what is covered here, Google it or check Youtube for a method that works for your particular cell phone and computer. Personally, I use the USB cord for charging the phone by
- plugging in the phone as if I was going to charge it,
- then removing the end of the cord from the charging outlet, and
- plugging it directly into my computer’s USB slot.
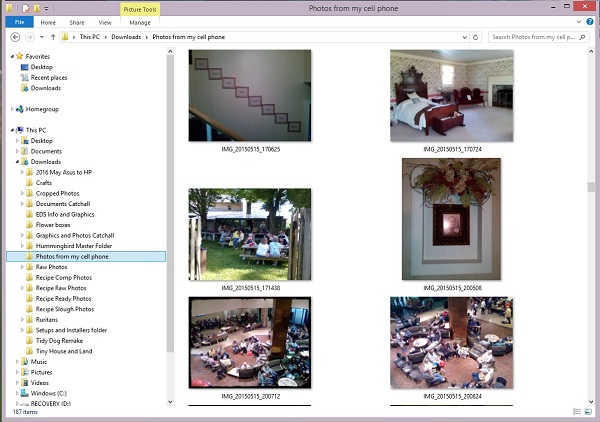
This action automatically opens a dialogue box on my PC. I drag and drop with my mouse to move the desired photo(s) from the cell phone’s Pictures folder to the destination folder on my hard drive, “Photos From Cell Phone.” If I preferred to use Dropbox as a storage area, I would open a new tab in my browser to log into my Dropbox account, and drop the selected photo into the intended Dropbox folder.
In this example, I moved the photo “IMG_20150515_171438” to the destination folder on my hard drive called “Photos from my cell phone.” This photo is a candid shot of people sitting at picnic tables, listening to music.
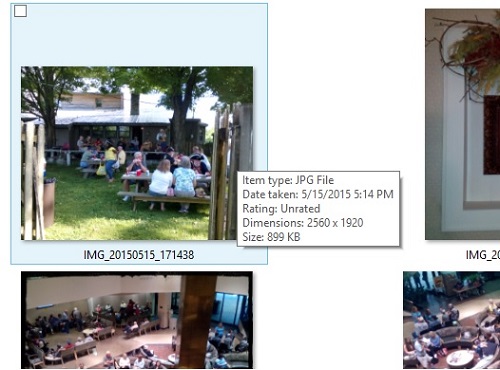
After the transfer, notice that by hovering over that photo file with your mouse, a small dialogue box will appear with certain details of the raw photo’s properties. In this example, you can see that:
- Item type is a jpg file, the web standard file type for photos
- Date taken was 5/15/2015 at 5:14 pm
- Rating is unrated
- Dimensions 2560 x 1920 (way too large for using on the web site and fit on a page or in a gallery)
- Size 899 KB (also too large for the web site, which causes pages to load to slowly)
We want to make some simple changes to this file, such as:
- crop the photo to remove distractions, better center the subjects, and set a desired shape or new dimensions;
- adjust the exposure, colors, remove red eye, etc. to enhance the photo quality and make it more visually appealing;
- reduce the file size;
- add a copyright notice; and
- rename the file according to our naming conventions.
Then we can download the edited and formatted photo from PicMonkey to the drive to be ready for adding to the web site.
Let’s get busy! Go to the next tutorial page, Introduction to PicMonkey.